
Last updated November 16, 2026
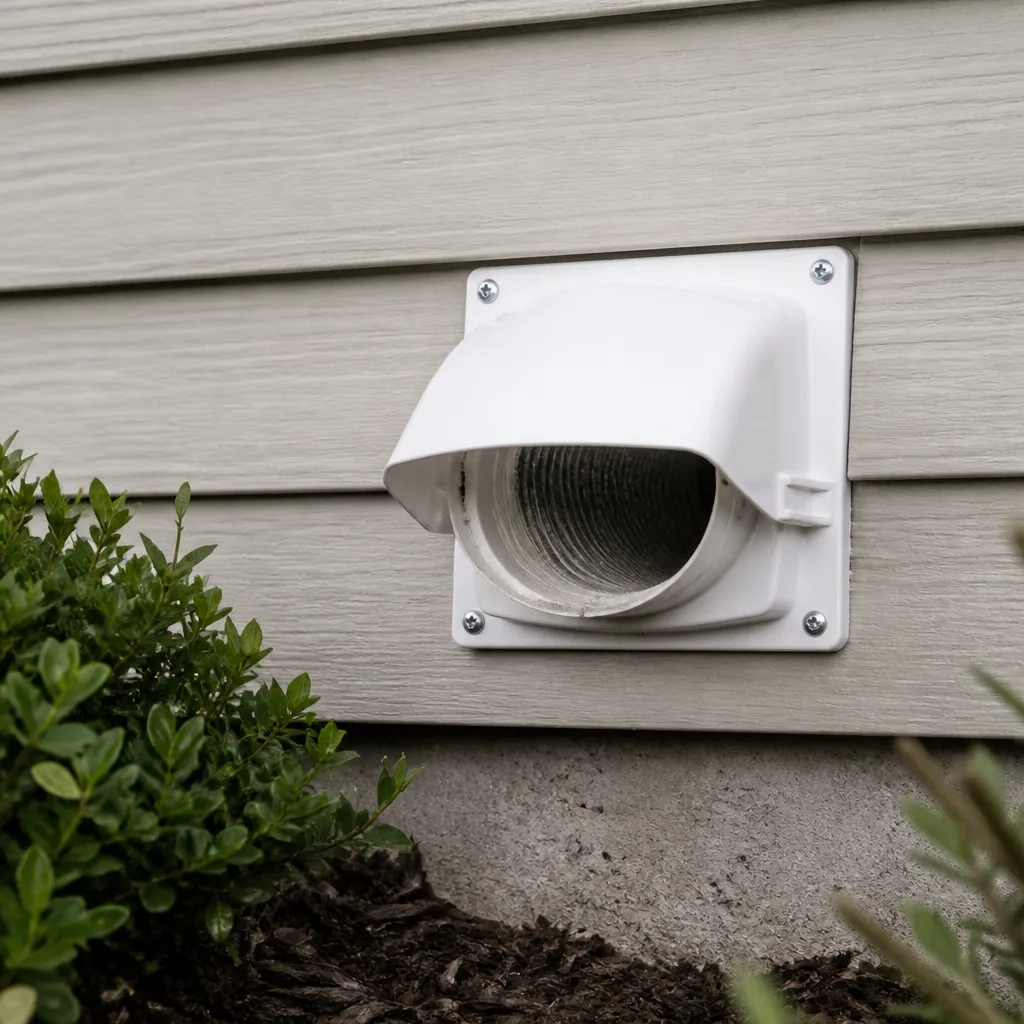 Dryer vent cleaning
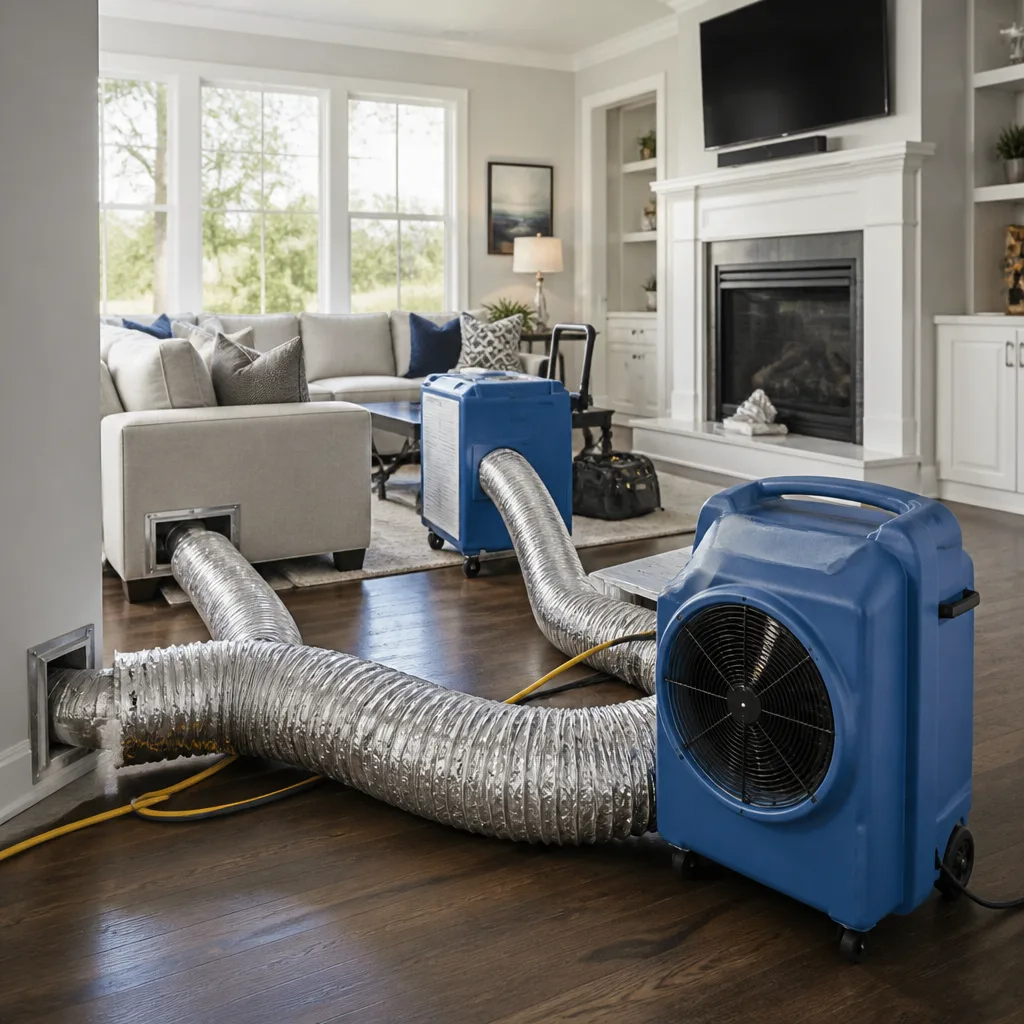 Whole-home duct cleaning
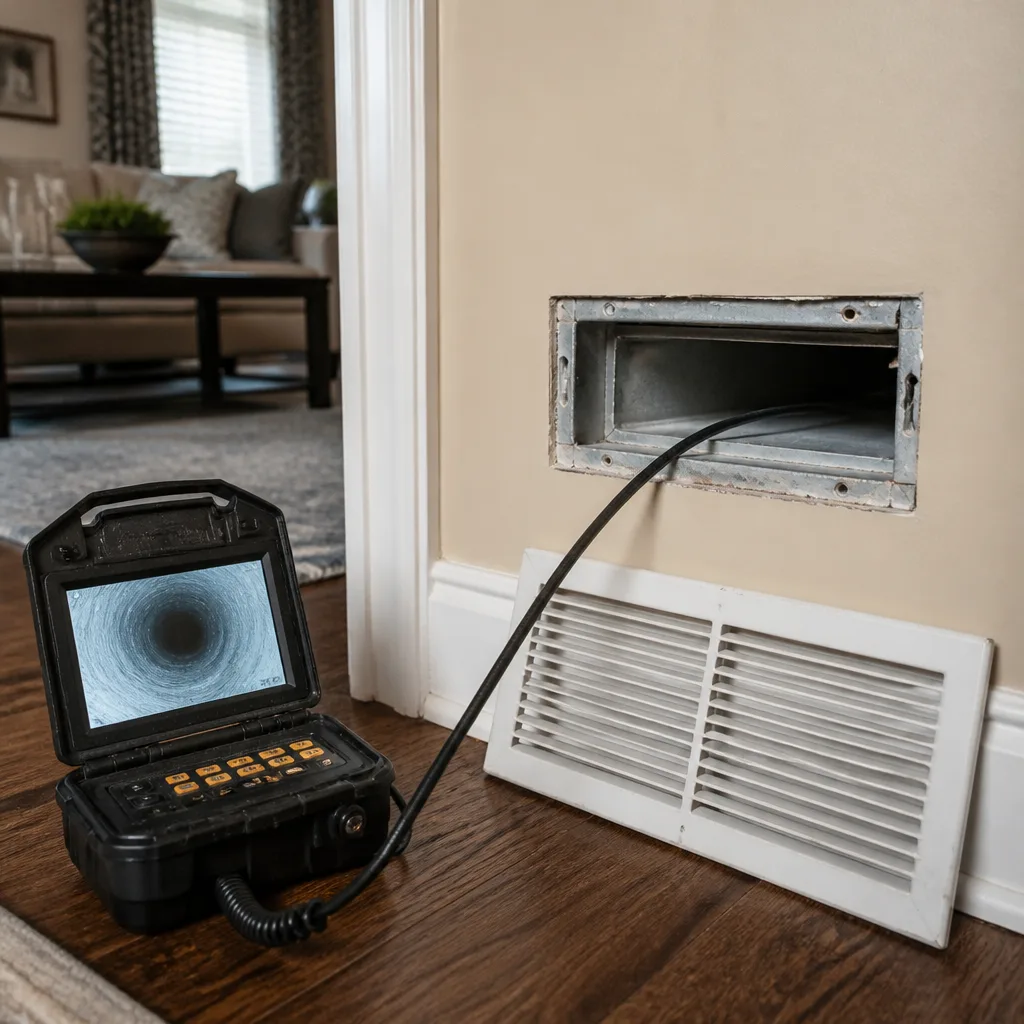 Camera inspection
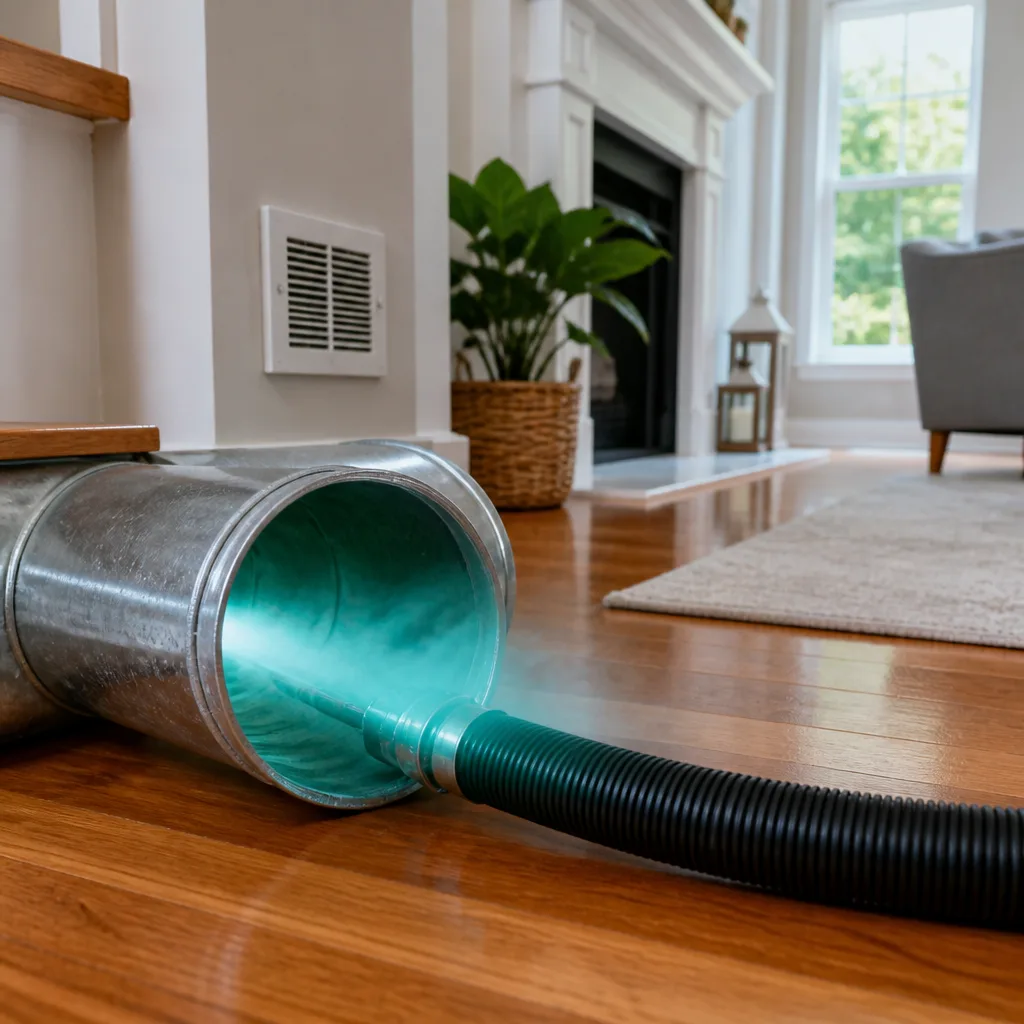 Sanitizing & deodorizing
Whole-system duct and dryer vent check with before-and-after photos - you see exactly what came out of your vents
That "$99 whole-house special" is a bait ad - the real number appears once they are in your hallway, or the "clean" is a shop-vac at the register. We photograph the inside of your ducts before and after instead.
The Complete Dryer Vent Cleaning Guide for Tallahassee Homeowners
The standard advice you’ll find online says to clean your dryer vent once a year. In much of the country, that’s reasonable. In Tallahassee, it can be badly wrong. Our summers push humidity high enough that lint doesn’t stay dry and fluffy inside a vent; it turns damp, clumps together, and coats the duct walls in a sticky layer that catches the next load of lint behind it. Homes with vent runs longer than 15 feet clog on a completely different schedule than the national guides assume. This guide covers how Tallahassee’s climate and housing stock change the math, how to measure your own vent run, which cleaning methods actually clear a duct, and how to verify the job was done. Everything here is calibrated to how homes in this city are actually built and how the air here actually behaves.
Quick Answer
Dryer vent cleaning in Tallahassee should happen more often than the national once-a-year guideline, typically every 6 to 12 months for most homes and as often as every 6 months for runs longer than 15 feet or homes built between the 1970s and 1990s with flexible foil venting. The right interval depends on your vent’s effective length (straight run plus added length for each bend), how many loads you dry per week, and whether the duct runs through an unconditioned attic where humidity condenses. A brush alone rarely clears a damp-clogged duct; you want brush-plus-vacuum extraction with airflow verification afterward.
Styles & brands we work with
- Whole-home duct cleaning
- Dryer vent cleaning
- Camera inspection
- Sanitizing & deodorizing
Table of Contents
- Why Tallahassee Humidity Changes How Lint Behaves
- How to Measure Your Vent Run and Calculate Effective Length
- How Often Should You Clean a Dryer Vent in Tallahassee?
- Brush-Only vs. Brush-Plus-Vacuum: What Each Method Leaves Behind
- How to Verify Your Vent Is Actually Clear
- Red Flags in 1970s – 1990s Tallahassee Construction
- The Full Cleaning Process, Step by Step
- What Dryer Vent Cleaning Costs in Tallahassee
Why Tallahassee Humidity Changes How Lint Behaves
Lint is mostly cotton and synthetic fiber fragments plus paper dust from dryer sheets, and it behaves very differently depending on the moisture around it. In a dry climate, lint stays light, porous, and tends to collect in loose drifts near the point where it exits the dryer. It restricts airflow, but it does so gradually and visibly. In Tallahassee, where relative humidity sits high through most of the year and the air inside an attic or garage can hold far more moisture than the air in a conditioned living space, the story changes.
Damp lint doesn’t drift. It sticks. It bonds to the inside wall of the duct, especially on the underside of horizontal runs and in the outer radius of every bend. Once that first damp layer cures onto the metal or foil, it becomes a tacky surface that grabs subsequent lint loads instead of letting them blow past. The result is a duct that fouls from the walls inward rather than clogging at the cap, which means the blockage can be well developed before you notice any performance problem at the dryer.
Condensation plays a role too. Warm, moist exhaust air moving through a duct that passes through a cooler attic or crawlspace will drop some of its moisture on the duct walls. That moisture is what turns ordinary lint into the sticky layer described above. Tallahassee homes with long attic-routed runs essentially manufacture their own lint-cement every time the dryer runs.
What this means for you in practical terms:
- Interior buildup matters more than end-of-duct blockage. Your vent cap can look clear while the walls of the duct are heavily coated.
- Dryer performance degrades before it fails. The first warning is usually clothes taking two cycles to dry, not a stopped dryer.
- Buildup is uneven. Horizontal sections, bends, and any low spots accumulate far faster than vertical runs.
- Visual inspection through the cap tells you almost nothing. The worst buildup is often closest to the dryer, hidden behind the wall.
If you’ve been treating your vent on the national one-year schedule and your dryer has started taking noticeably longer, the schedule is the first thing to question. That’s the pattern we see most often in Tallahassee homes during the wetter months.
How to Measure Your Vent Run and Calculate Effective Length
The single most useful number for setting a cleaning interval is your vent’s effective length, which is the straight-line distance plus a penalty for every bend. Manufacturer and code guidance generally treats a 90-degree elbow as adding a meaningful amount of extra length to the run, and a 45-degree elbow adding about half that. Longer effective lengths mean more surface area for lint to collect, more places for moisture to condense, and much less airflow to push the lint through.
Here’s how to measure your own run without climbing into the attic:
- Find both endpoints. The dryer connection is behind the dryer, at the transition duct. The exterior termination is on a wall or roof cap outside. Locate both.
- Trace the path. From inside, follow the run by looking for the outer wall positions where the duct enters and exits. If the duct leaves the laundry room and passes through an attic or crawlspace before exiting, note that.
- Measure the straight segments. Use a tape measure or a rough string measurement through the accessible sections. Combine them into one straight-line total. Don’t count the transition duct behind the dryer.
- Count and add bends. Count every 90-degree elbow and every 45-degree elbow between the dryer and the cap. Add the added-length allowance for each (a 90-degree elbow is typically counted as several additional feet, a 45-degree as roughly half that).
- Sum it up. Straight-line feet plus bend allowance equals effective length. Write that number down; you’ll use it for cleaning frequency and as a benchmark for verifying airflow later.
Rough category guide:
- Under 10 feet effective, straight run, short interior wall exit: typical annual cleaning is reasonable, though homes with heavy dryer use may need it sooner.
- 10 – 15 feet, one or two bends, interior wall exit: every 9 – 12 months in a Tallahassee home.
- 15 – 25 feet, several bends, attic or crawlspace routing: every 6 – 9 months is realistic.
- Over 25 feet effective, or any run that terminates at a roof cap with multiple bends: every 6 months, and consider evaluating whether the run can be improved during a repair.
If you don’t want to measure it yourself, that’s a normal reason to have a specialist look. When we do dryer vent cleaning in Tallahassee, measuring the effective length is part of the assessment, and it directly informs how we set the cleaning interval for your home.
How Often Should You Clean a Dryer Vent in Tallahassee?
For most Tallahassee homes, the practical answer is every 6 to 12 months, with the shorter end of that range applying to long runs, attic routing, heavy dryer use, or households with pets. The national once-a-year guideline assumes a dry climate and a short run. Neither assumption holds here for a large share of the housing stock.
A more useful way to think about it is to watch for the signals that tell you the interval needs to shorten:
- Clothes taking more than one cycle to dry, especially towels and heavy cottons
- The exterior of the dryer or the wall behind it running hot to the touch
- Clothes coming out warmer than they used to
- Errant lint collecting around, behind, or inside the lint trap housing
- A musty or damp smell in the laundry room
- A dryer that shuts itself off before the cycle finishes (an internal safety feature triggering on heat)
- Visible lint through the exterior cap
If you see more than one of these, don’t wait for the calendar. The building is telling you something.
The frequency also shifts with the season. Tallahassee’s wetter months push more moisture into attic-routed ducts, and homes with newer, tighter construction carry more interior moisture overall because air exchange is lower. During humid stretches, we generally recommend the shorter end of the interval for long-run homes. In the driest weeks of the year, there’s less condensation, but the accumulated buildup from the wet months is already in the duct.
Households with multiple dryers or heavy use (a family with young children running several loads a day) can reasonably expect to be on the 6-month schedule even with a shorter run. Homes with pets and homes where anyone in the household has significant allergies or asthma should also treat the shorter interval as the default rather than the exception.
Brush-Only vs. Brush-Plus-Vacuum: What Each Method Leaves Behind
A brush alone will loosen lint from the duct walls. It will not remove it. Without an attached vacuum with proper containment, most of what the brush frees ends up redistributed deeper in the run, blown out the exterior cap, or – the worst outcome – pushed back into the laundry room and settled across the dryer, floor, and walls. Brush-only cleaning feels productive in the moment and often leaves the duct meaningfully dirtier than it should be.
Brush-plus-vacuum extraction is the standard for a proper job. The brush loosens buildup while a high-volume vacuum, connected to the same tooling, pulls the loosened material out under containment. Purpose-built equipment matters here. We use Rotobrush and Nikro systems for this reason: they’re engineered to agitate and extract at the same time, with air volume engineered for real ducts rather than a repurposed shop vac.
Containment is the part most crews skip. When a duct is opened to clean it, particles that were settled become airborne. That’s why the equipment has to include a capture step. We use Abatement Technologies equipment specifically so that what comes out of the duct goes into a HEPA-filtered collection rather than into the room the homeowner is standing in. For homes with allergies, recent renovations, or young children, the containment capability matters as much as the agitation capability.
The method also needs to match the condition of the duct:
- Dry, loose lint (short run, dry season): brush-plus-vacuum extraction clears it completely.
- Damp, caked lint (long run, humid season, attic routing): agitation needs to be more aggressive, and extraction needs higher airflow; this is where brush-only work fails most completely.
- Damaged flexible foil duct (see the next section): aggressive brushing can further tear internal liner material, so inspection matters before cleaning begins.
- Transition duct at the dryer: often the worst buildup in the system and the least likely part to be properly cleaned; it should be removed and cleaned rather than just brushed in place.
If a crew offers to “blow out” your vent with a leaf blower or a shop vac, that’s not cleaning. It’s redistribution. If they use only a brush with no extraction, that’s not cleaning either. The full job uses purpose-built duct equipment, contains what it removes, and verifies the result with airflow measurement after the fact.
How to Verify Your Vent Is Actually Clear
The easiest way to know the job worked is to measure airflow before and after with an anemometer at the exterior termination. This is not complicated equipment – a handheld anemometer placed over the outdoor cap with the dryer running gives a direct airspeed reading – and any professional crew should be able to do it. A phone camera shot of a clean-looking wall inside the cap isn’t the same thing; it tells you nothing about the duct section fifteen feet back that runs through the attic.
Here’s what proper verification of a completed job looks like:
- Baseline reading. Take an airflow measurement at the exterior termination with the dryer running empty on hot before cleaning begins.
- Clean the full run. Brush-plus-vacuum extraction from the transition duct to the cap, with containment in place.
- Re-measure at the same termination. Repeat the same airflow test under the same conditions after cleaning.
- Compare and document. The post-cleaning reading should be meaningfully higher than the baseline. If it hasn’t moved, something was missed.
- Inspect the interior before closing up. A camera or light-on-a-flex-rod view of the transition and the first several feet confirms the walls are actually clear of the sticky layer, not just the loose lint.
- Confirm the exterior cap and damper move freely. A stuck or damaged damper is a separate airflow problem that needs correcting regardless of how clean the duct is.
Ask any crew you hire how they verify the work. A crew that says “we look inside with a camera at the end” is giving you a partial answer. A crew that describes a before-and-after airflow measurement with containment is telling you they know how to prove the job was done. Before-and-after photos of your specific duct, at multiple points along the run, are a reasonable thing to request as well.
Red Flags in 1970s – 1990s Tallahassee Construction
Homes built in Tallahassee between roughly the 1970s and the 1990s share a set of construction habits that matter for dryer vent health. The three biggest are covered below.
Flexible foil venting
Flexible foil (often called semi-rigid or foil-flex) was common in this era for the transition duct and sometimes for longer sections. It has corrugated inner walls, which multiply the surface area for lint to grab, and it’s more prone to internal tearing as it ages. Once a foil liner tears, lint collects in the folds of the tear and can’t be fully brushed out. Every additional corrugation adds to your effective length even if the tape measure says otherwise. In Tallahassee’s humidity, foil-flex ducts also trap moisture in the corrugation lows and hold it there, accelerating the sticky-lint problem described earlier. If the transition duct or the run itself is foil-flex, that affects both cleaning method and your realistic interval.
Offset roof caps
Roof terminations with an offset cap – where the duct exits the roof and then turns through a short offset cap before opening to the outside – are common on this era of Tallahassee home. The offset creates a small pocket just inside the cap where lint and moisture collect and where the damper can stick. From the ground or from a camera shot of the opening, this cap can look clean. From inside the duct, it’s often the second-worst accumulation point after the transition duct. When we assess a vent that terminates at a roof cap, we always look at the offset itself, not just the opening.
Attic routing
Attic routing was standard for kitchen and laundry venting in this construction period. In Tallahassee, that routing moves the entire duct through an unconditioned space that swings from humid and warm most of the year to nights that cool off more than the interior – which is exactly the condition that causes condensation on the duct walls. The longer the attic run, the more moisture deposits it collects. Combined with foil-flex corrugation, this is where we most reliably find heavily caked buildup. Homes from this era with long attic-routed runs should be on the shorter interval (6 months) rather than the general 6 – 12-month range, and the cleaning method should be brush-plus-vacuum with attention to the attic segment specifically, not just the wall junctions.
Other era-specific things to check during assessment:
- Transition ducts secured with foil tape that has degraded – a source of lint escape into the wall cavity.
- Runs that pass through a closet or chase rather than an attic – common in this era and easy to overlook.
- Older exterior dampers that no longer seal tightly, allowing outside humid air back into the duct when the dryer is off.
If you’re not sure what vintage your Tallahassee home’s dryer venting is, the assessment is the answer. A quick look at the transition duct behind the dryer and at the exterior termination tells you most of what you need to know about how the rest of the run was built.
The Full Cleaning Process, Step by Step
A complete dryer vent cleaning is a sequence, not a single action. Here’s the process, in the order it should happen:
- Inspection and measurement. Identify both endpoints, trace the run, measure effective length, note any foil-flex, roof offset, or attic routing. This sets which method and interval apply.
- Baseline airflow check. Anemometer reading at the exterior termination with the dryer running empty, so you can compare after cleaning.
- Disconnect and clean the transition duct. Remove the flexible transition duct from behind the dryer, clean it separately, inspect it for tears, and replace it if it’s damaged or heavily foil-flexed with corrugation that’s holding lint.
- Establish containment. HEPA-filtered containment at the transition point and at the exterior termination so that what’s loosened gets captured instead of blown into the room.
- Agitate and extract the full run. Purpose-built equipment (Rotobrush or Nikro) brushes the full length from the transition duct to the cap while extracting at the same time. If the run has bends and attic routing, work the brush through each elbow rather than stopping at the first obstacle.
- Clean the exterior cap and damper. Clear the offset pocket if the cap has one. Confirm the damper hinges move freely and seal when closed.
- Interior inspection. Camera or light-on-a-rod review of the transition and the first several feet, and any accessible attic section, confirming the walls are clear.
- Post-cleaning airflow check. Repeat the anemometer reading and compare to baseline. If you don’t have a meaningful improvement, the job isn’t done.
- Reconnect and photograph. Reconnect the dryer with a proper transition duct, run a test load (or a short empty cycle) to confirm the dryer draws properly, and take before-and-after photos of the duct at multiple points along the run.
When we do this in a Tallahassee home, we also check whether the dryer’s own airflow path (the lint trap housing, the blower wheel, the exhaust port) is contributing to the problem. Those parts are outside the vent itself, but they drive how hard the vent has to work, and a fully cleaned duct with a clogged blower wheel just moves the problem downstream.
What Dryer Vent Cleaning Costs in Tallahassee
Typical dryer vent cleaning in Tallahassee runs from around $130 to $260 for a standard single-family home, with the higher end of that range covering longer attic runs, roof terminations, and heavier buildup. Repairs to the vent system – replacing a damaged transition duct, correcting a stuck damper, or addressing a crushed section of the run – are priced separately because the estimate is set per job, not per vent opening or per minute on site.
A representative breakdown by job type:
- Standard short run, interior wall exit, single story: roughly $130 – $180
- Longer run (15 – 25 ft effective), one or two bends: roughly $160 – $210
- Attic routing or roof termination, moderate buildup: roughly $185 – $260
- Heavy buildup (damp caked lint, foil-flex, offset roof cap): roughly $210 – $280
- Transition duct replacement (foil-flex to semi-rigid): quoted separately; varies with run length
Two things drive the price: how much duct there is to work on, and what equipment the job requires. Brush-plus-vacuum with containment, purpose-built tools, and airflow verification is a different service from a shop vac and a brush. If a quote is dramatically below the range above, the method is usually the reason. Ask what equipment will be used and how the work will be verified; that answer is often more useful than the number itself.
The free estimate is written, and it sets the final price. That’s the number you’ll pay. Not a range, not an approximation, not a price that grows on-site once a technician is in your attic.
Common Mistakes to Avoid
- Treating one year as a universal interval. A short-run home in a dry month might reasonably go a year. A 30-year-old Tallahassee home with attic-routed foil-flex, an offset roof cap, and a family running three loads a day might need cleaning twice in a year. The national rule is a starting point, not a plan.
- Accepting brush-only cleaning as complete. Brushing loosens lint; it doesn’t remove it. Without extraction, loosened buildup redistributes deeper into the run and often back into the laundry room. Ask specifically whether the crew uses brush-plus-vacuum equipment, not just “a brush.”
- Hiring a crew that quotes a coupon price. A very low advertised rate almost always becomes a larger on-site invoice once the technician climbs into the attic and finds the real situation. Insist on a written flat price per job before the work starts.
- Verifying the job with a photo of the vent cap. A clean-looking cap tells you the last foot of the run is clear. It says nothing about the transition duct, the attic segment, or the walls of the elbows. Ask for before-and-after airflow measurements.
- Letting a damaged transition duct get brushed and re-used. Crushed, torn, or heavily corrugated foil-flex behind the dryer should be replaced, not cleaned. This is the single most common problem we find in Tallahassee homes built between the 1970s and 1990s, and it isn’t fixed by any cleaning method.
- Ignoring a stuck exterior damper. A damper that doesn’t close allows outside humid air to enter the duct between cycles, which accelerates buildup in exactly the same way interior Tallahassee humidity does. If the damper is stuck, cleaning without fixing it leaves the problem in place.
- Cleaning the vent without checking the dryer itself. A partially clogged blower wheel or a lint-packed trap housing reduces airflow the same way a clogged duct does. The vent can be spotless and the dryer still underperforming.
See the difference
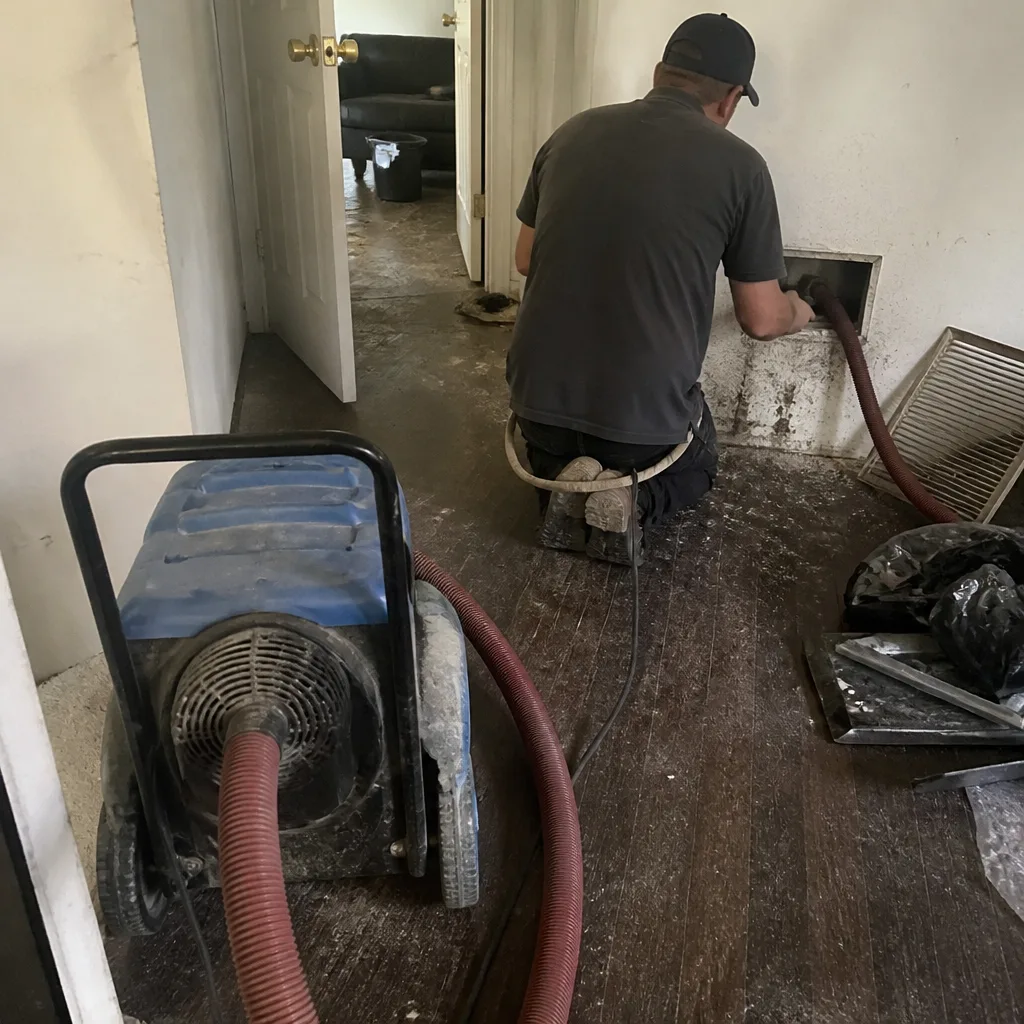 Before
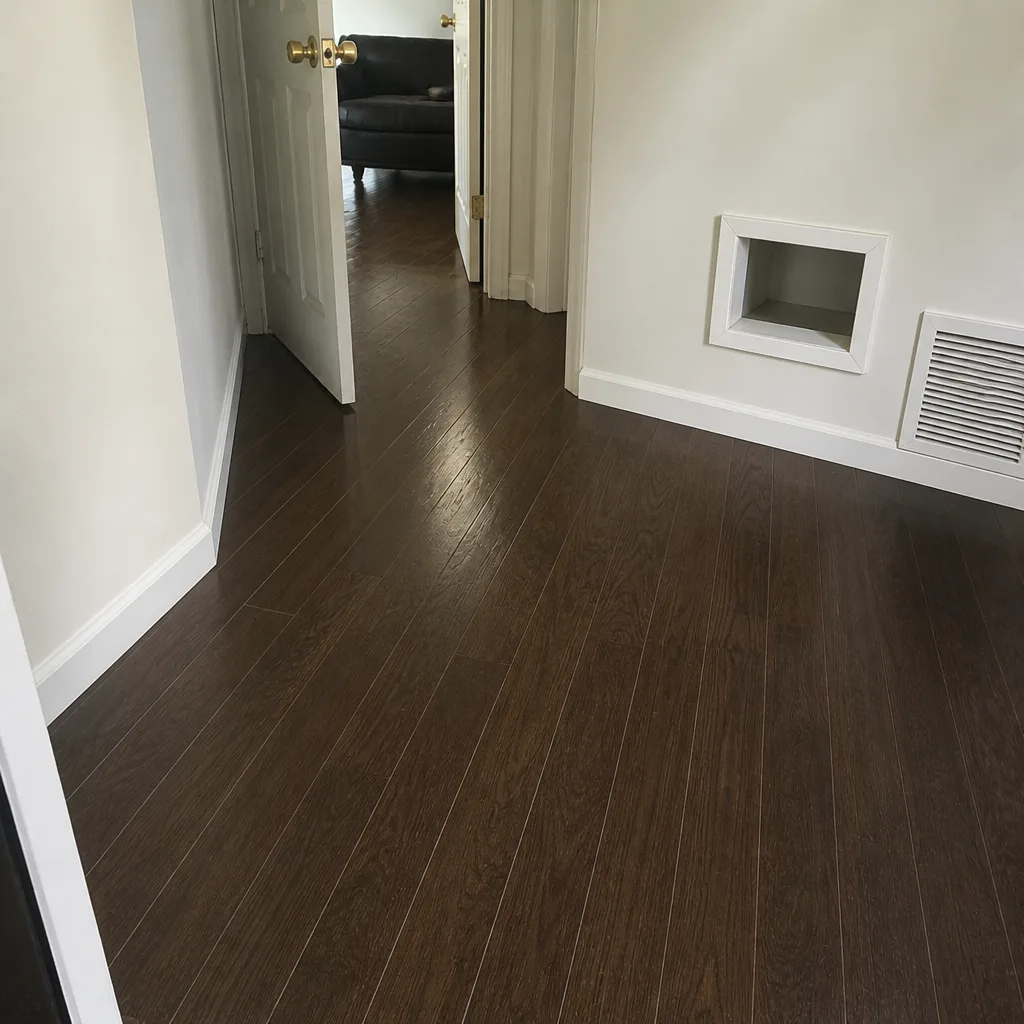 After
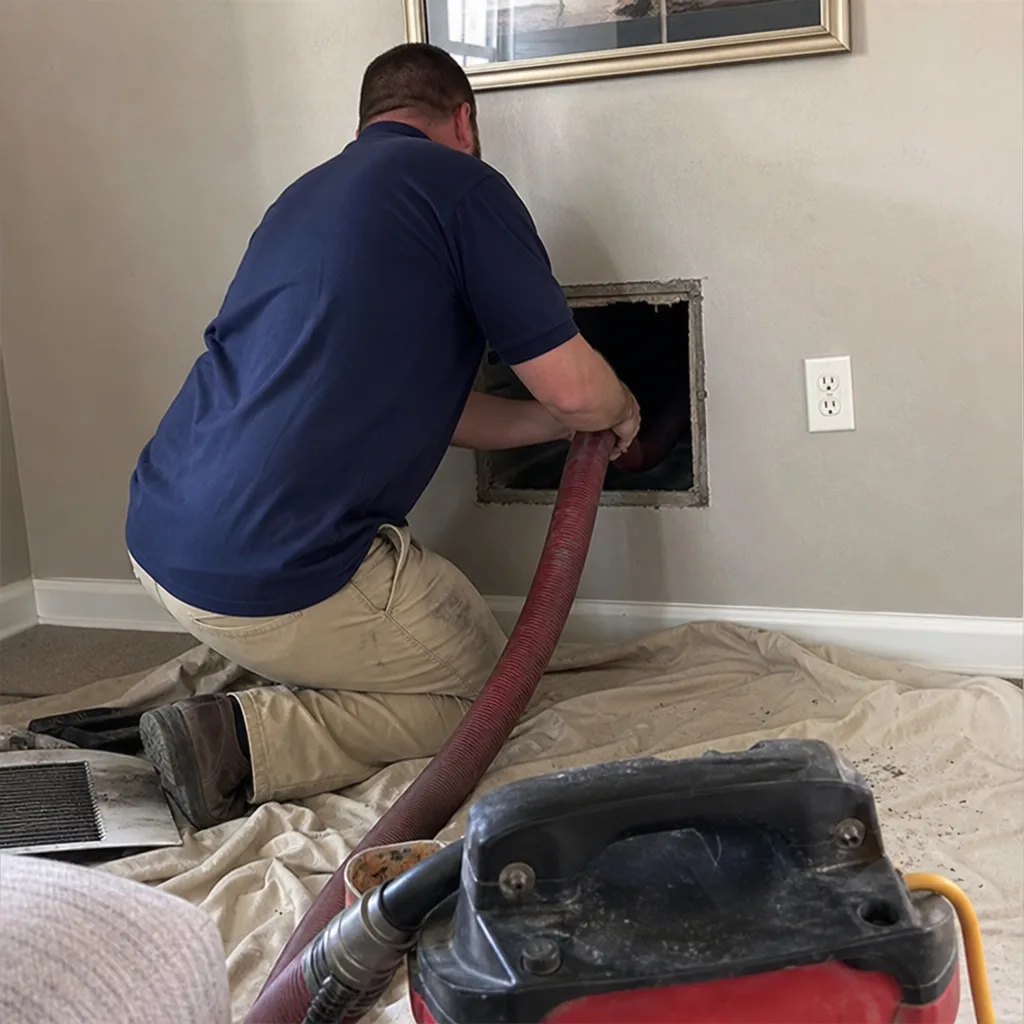 Before
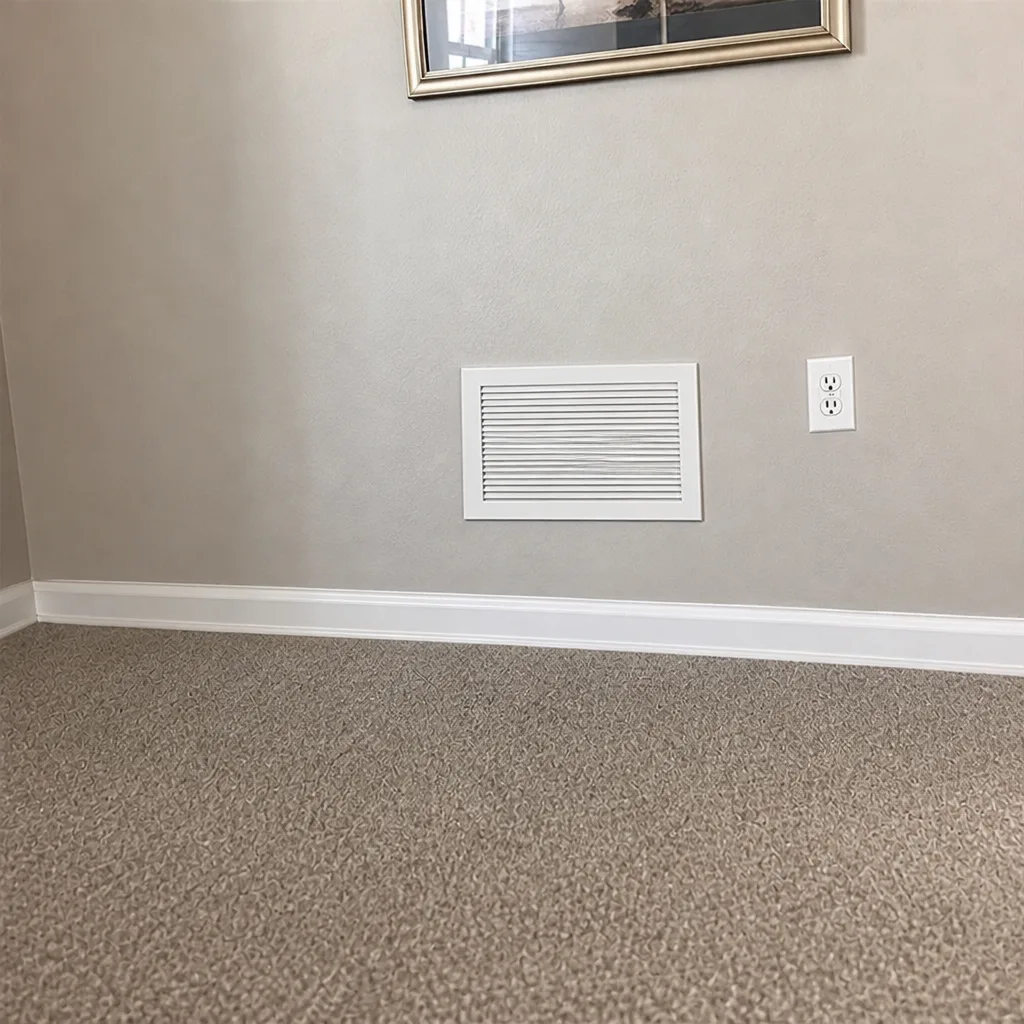 After
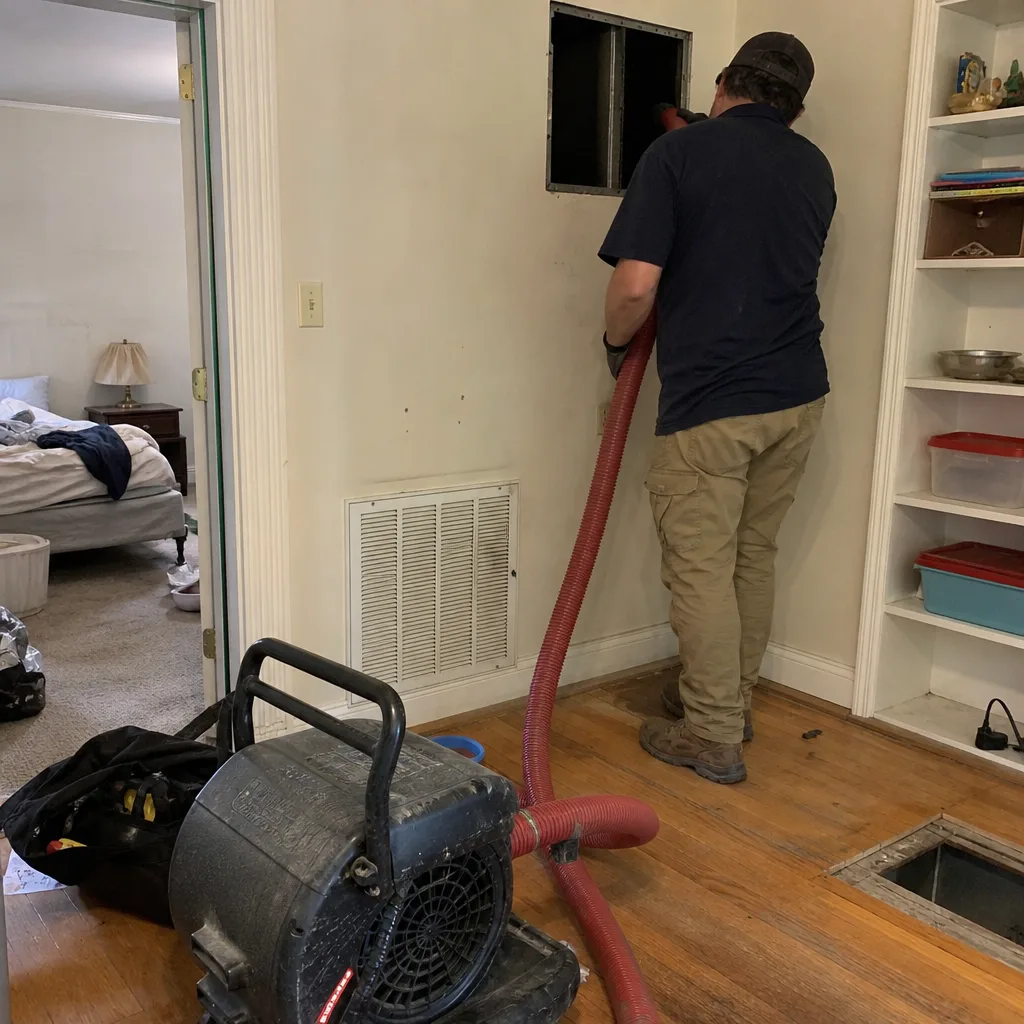 Before
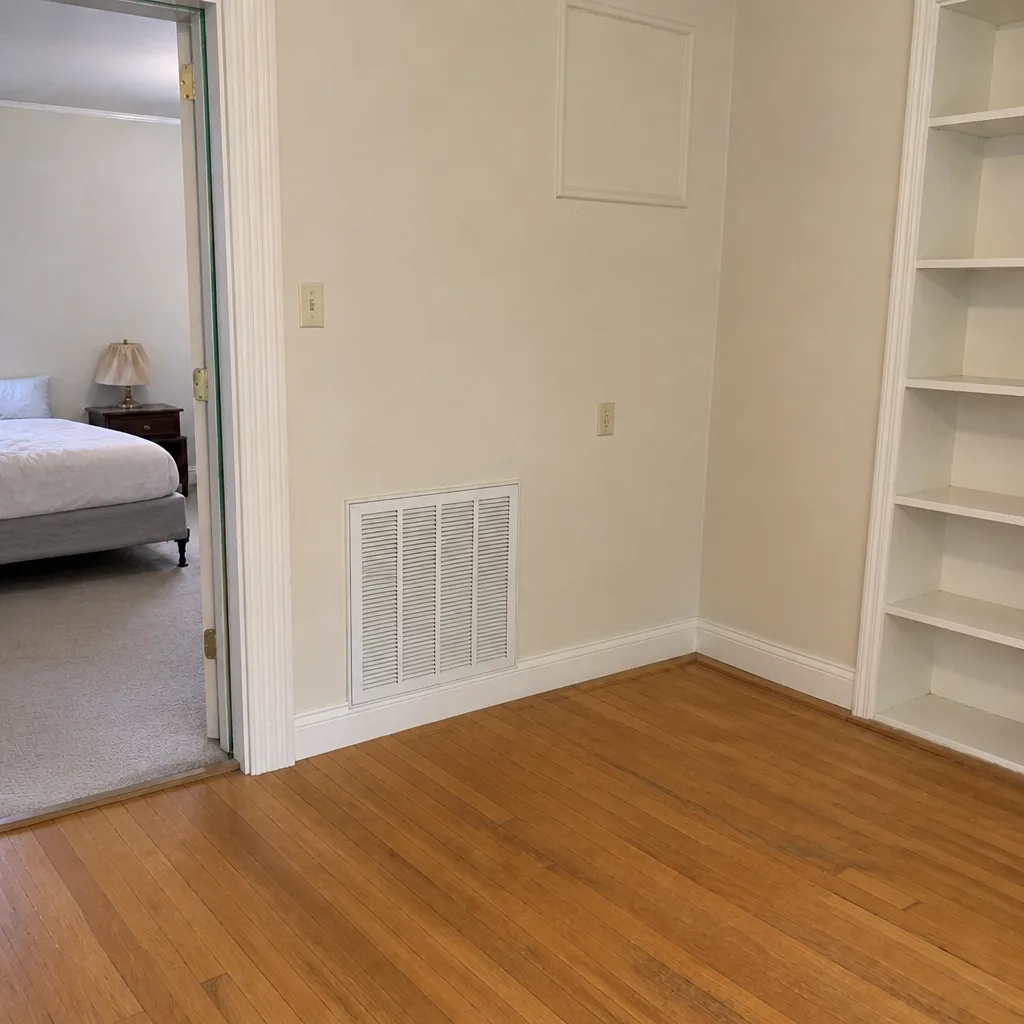 After
When to Call a Professional
The DIY path handles a short, simple, easily accessible vent well. Beyond that, professional assessment is worth it. Call a specialist if any of the following apply:
- Your effective vent length (including bends) exceeds 15 feet
- The run passes through an attic, crawlspace, or interior chase that isn’t easily accessed
- The vent terminates at a roof cap
- The transition duct behind the dryer is foil-flex, crushed, torn, or taped with degraded foil tape
- Your home was built between the 1970s and 1990s in Tallahassee and you haven’t had the vent inspected
- The dryer has started taking two cycles to dry clothes, or the exterior of the dryer or wall behind it runs hot
- The exterior damper is stuck or doesn’t seal when the dryer is off
- You smell musty odor in the laundry room, or you see lint accumulating outside the trap
Hillcrest Air Duct Cleaning offers free estimates in Tallahassee. Call (888) 721-9610. We answer 24/7. Fast dispatch from 7am to 7pm, Sunday through Friday. Our technicians have up to 9 years of experience, and we use the same purpose-built equipment (Rotobrush, Nikro) and containment tools (Abatement Technologies) on every dryer vent job we take. If your duct needs repair rather than just cleaning – a crushed section, a damaged transition, a stuck damper – we handle that under the same visit, and a written flat price is set before any work begins.
Frequently Asked Questions
Every 6 to 12 months for most Tallahassee homes. The shorter end of that range applies to runs over 15 feet effective length, attic-routed ducts, homes with heavy dryer use, and households with pets. The national once-a-year guideline assumes a dry climate and a short run, neither of which is typical for Tallahassee homes built before the 2000s.
Cheaper quotes almost always reflect a cheaper method – brush-only cleaning without attached extraction, or a shop vac in place of purpose-built duct equipment. Those methods redistribute loosened lint rather than removing it, and the low number on the phone is replaced by a larger invoice once the technician is on-site. Ask what equipment will be used, whether containment is included, and whether airflow will be measured before and after. Our estimates are free and the price is set in writing per job; call (888) 721-9610 for an exact quote.
Before-and-after airflow measurement at the exterior termination, plus before-and-after photos of the interior at multiple points along the run. A photo of a clean vent cap isn’t verification; it only tells you the last foot is clear. Ask any crew you hire how they verify, and be skeptical of any answer that doesn’t include a measured flow comparison. Our estimates are free; call (888) 721-9610 for details on how we document the work.
Dryer vent cleaning handles the exhaust duct that carries hot, moist air and lint from your dryer to the exterior. air duct cleaning handles the supply and return ductwork that distributes conditioned air throughout your home’s HVAC system. They’re separate systems, they use different methods, and they need to be scheduled independently. Many Tallahassee homes need both, but they aren’t the same service and shouldn’t be priced as one.
Yes, for a short, straight, easily accessible run that exits through an interior wall and can be reached with a hand rod and a shop vac; that’s normal homeowner maintenance. Anything beyond that – attic routing, roof termination, foil-flex, or a transition duct that looks damaged – should go to someone with commercial equipment and containment, both because the equipment needed to do it properly is different and because a damaged duct during cleaning can create a hidden lint trap that no visual check will find.
Yes. High humidity turns free-floating dryer lint into a sticky, caked layer that bonds to the inside of the duct wall and grabs subsequent lint. Attic-routed ducts also condense additional moisture because of the temperature differential between the warm exhaust and the cooler attic air, and that condensation adds to the damp-lint problem. Homes with long runs and attic routing in Tallahassee consistently need shorter intervals than the national guidance suggests.
Yes. Restricted airflow causes the dryer to run hotter and longer, which stresses the heating element, thermal fuse, and internal components. Many dryers also include a thermal cut-off that shuts the unit down before it overheats. Before assuming the dryer has failed, have the vent checked; in our experience, what looks like a failing dryer in a Tallahassee home is more often a well-developed vent clog. Call (888) 721-9610 for a free estimate if you’re not sure.
The Bottom Line
Tallahassee’s humidity makes dryer vent maintenance a different calculation than the national once-a-year guideline assumes. Long runs, attic routing, foil-flex transition ducts, and offset roof caps – all common in homes built in this city between the 1970s and 1990s – multiply the speed at which damp lint cements to the duct walls. Measure your effective length, set your interval from that number, insist on brush-plus-vacuum extraction with proper containment, and verify the work with before-and-after airflow measurement rather than a photo of the vent cap. That combination keeps your dryer running efficiently and keeps a genuinely risky appliance safely ventilated. When the assessment or the work needs a specialist, Hillcrest Air Duct Cleaning handles dryer vent cleaning in Tallahassee with the equipment the job actually requires.
If you’d like a free written estimate on your home’s vent, call (888) 721-9610. We answer 24/7. Fast dispatch from 7am to 7pm, Sunday through Friday. A written flat price per job, set before any technician begins work, with before-and-after photos of your own duct included.
Written by the team at Hillcrest Air Duct Cleaning.